1- If you are using a Mac, you can manage your mail through the Mac-based email application Mail; this application is also known as "Mac Mail".
2- Select the 'Mail' menu.
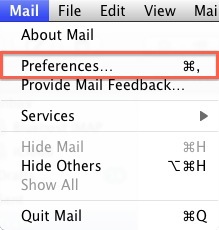
3- Select Preferences.
4- Click on the Accounts tab.
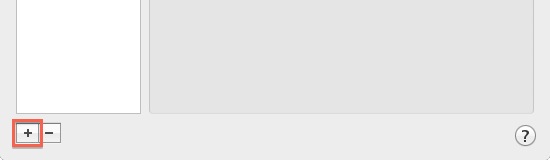
5- On the Accounts window, click the + sign.
6- You will be presented with the Add Account Wizard.
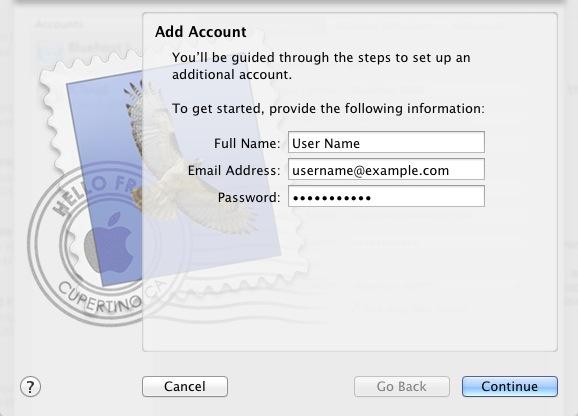
7- Please enter your name, as you want it to appear on your outbound E-mail messages.
8- Please type your E-mail address.
9- Enter your E-mail password.
10- Click the Next button.
11- Now, you will see this screen.
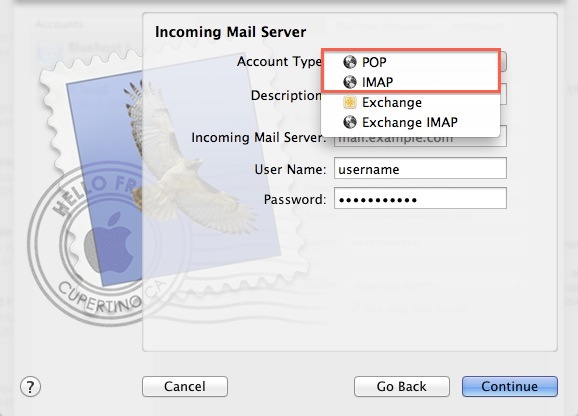
12- Please choose your account type. You may select either POP or IMAP. Click here for an explanation on the differences between POP3 and IMAP.
13- Give this account a description for quick reference.
14- Please enter mail. followed by your domain name as the Incoming and Outgoing mail server.
15- Enter your E-mail password.
16- Click Next.
17- Now you will see a screen asking for the Outgoing Server information.
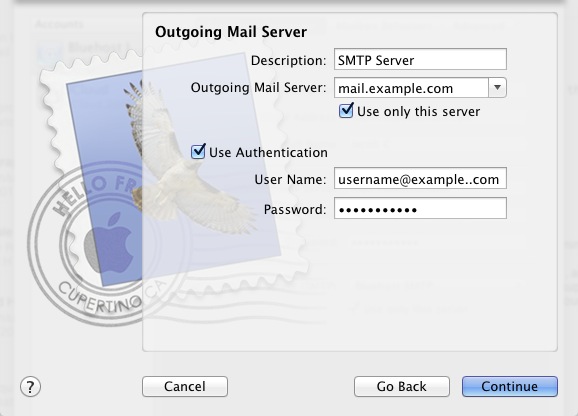
18- Please give your Outgoing Mail Server a description.
19- The Outgoing Mail Server is the same as your incoming mail server. Again, this will be something like mail.example.com
20- Be sure that the Use Authentication box is checked.
21- Enter your E-mail address for the User Name.
22- Please type in your E-mail password.
23- Click the Next button.
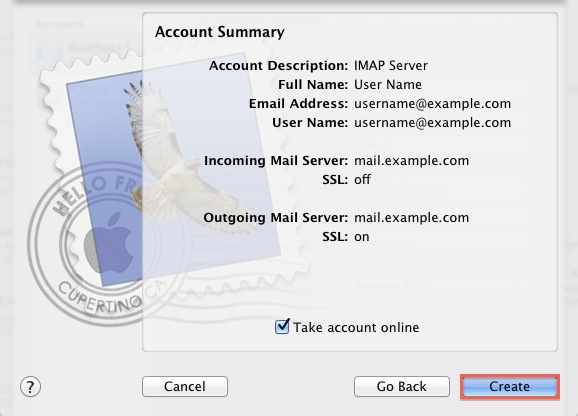
24- You will be presented with a confirmation screen with your settings. If everything is correct, press the Create button.